How to Control Servo Motors with a Raspberry Pi
2023-12-27 09:24:04
The Intersection of Raspberry Pi and Servo Motors: A Snapshot
The Raspberry Pi is a popular single-board computer known for its versatility and wide range of applications in electronics, robotics, home automation, and more. One exciting use of the Raspberry Pi is controlling servo motors. By connecting servo motors to the Raspberry Pi's GPIO pins, we can program the movement of these motors with code.
This opens up many possibilities for building controllable mechanisms and automated devices. Model aircraft and watercraft, robotic arms, automated agriculture systems - these are just some examples of projects made possible by combining the low-cost computing power of the Raspberry Pi with the precise motion control ability of servo motors.
Best of all, it doesn't require advanced skills or expensive equipment. With a basic understanding of electronics, some coding experience, and affordable hardware like a Raspberry Pi mini computer, you can construct sophisticated creations that integrate software and mechanics.
In this guide, we'll go through everything needed to directly control servo motors using a Raspberry Pi, from selecting components to connecting the hardware to programming motion with code. By the end, you'll be ready to incorporate servo motors into your own Raspberry Pi projects.
Understanding Raspberry Pi and Servo Motors: A Primer
Before connecting a Raspberry Pi to servo motors, let's briefly review what these two components are and how they work independently.
The Raspberry Pi is a full-featured computer about the size of a credit card. At its heart is a System on a Chip (SoC) with an ARM processor. Like a regular computer, it runs Linux and can be programmed using coding languages like Python. What's unique is its array of General Purpose Input/Output (GPIO) pins that allow it to interact with electronics in the real world.
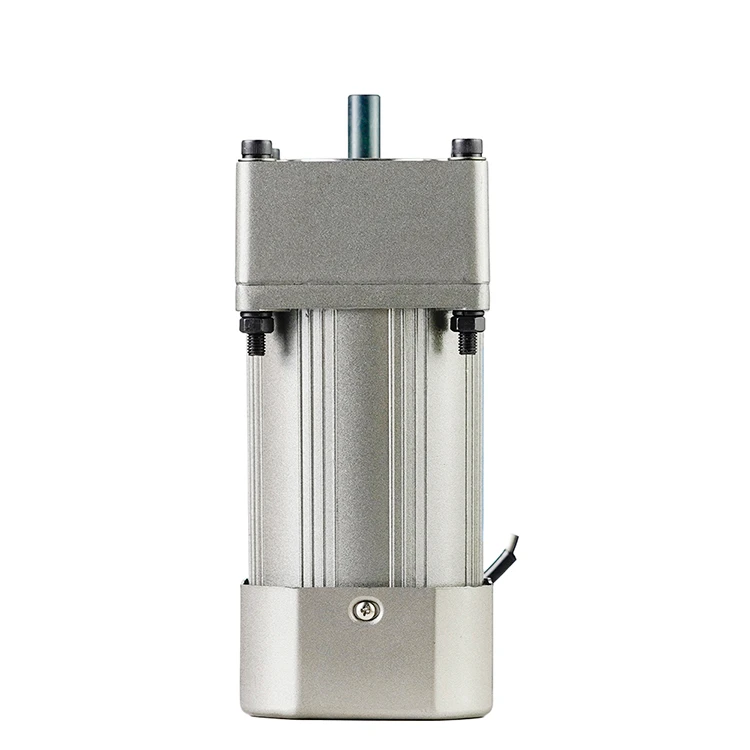
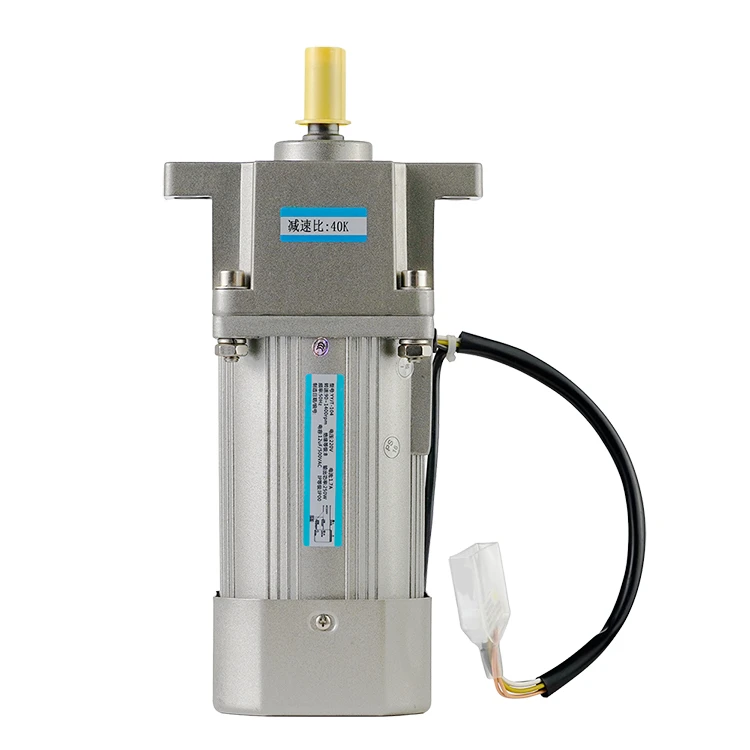
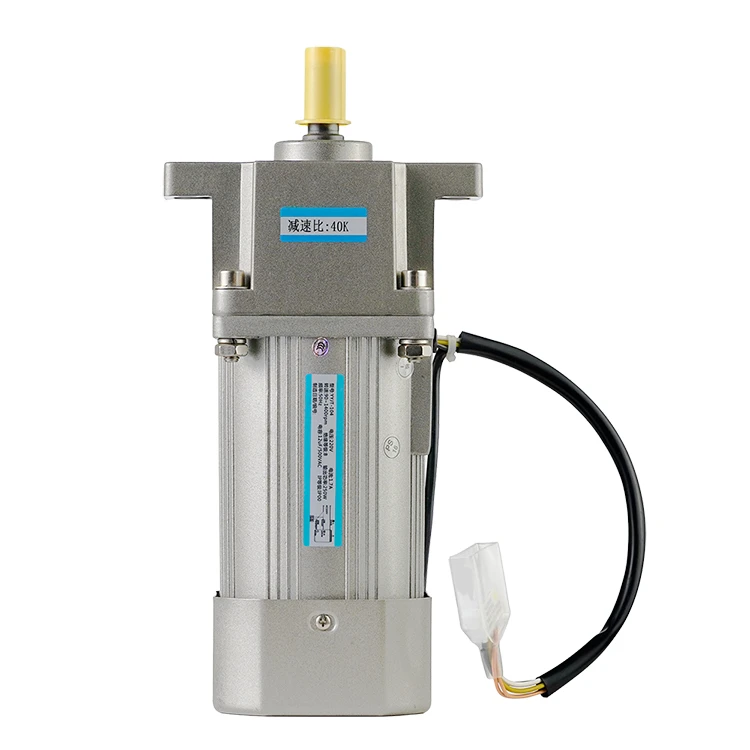
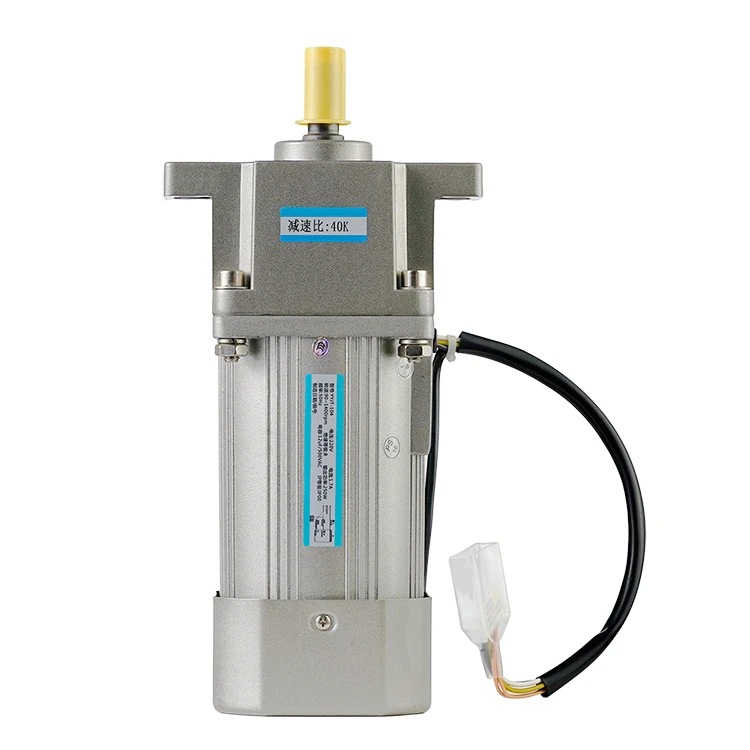
A servo motor is an actuator that precisely rotates to a specific angular position. Inside is a shaft connected to a gearbox and feedback potentiometer. Voltage control signals sent to the servo rotate the shaft to match an encoded position value. Servo motors are commonly used in robotics to control movement at individual joints.
To integrate the two, we'll connect servo controller wires to the Raspberry Pi's GPIO. By outputting coded pulse-width modulation (PWM) signals, we can send target position values to individual servos and thereby programmatically command their movement.
This opens the door to building all sorts of automated mechanisms. With just a Raspberry Pi mini computer and handful of inexpensive servos, we gain the ability to design creative robots, machines and interactive projects through software.
Hardware Requirements: Gearing up for the Project
To get started controlling servo motors with a Raspberry Pi, you'll need the following core hardware:
-
Raspberry Pi - Any model will work, but Pi 3/4 provide best performance.
-
Standard servo motor - Small lightweight servos work well for testing. Hobby servos typically operate at 4.8-6V.
-
Female-to-female jumper wires - Used to connect the Raspberry Pi to the servo.
-
Breadboard - Optional but recommended for neat organization and prototyping.
-
Power supply - Most servos require 4.8-6V which can come from a USB power bank or wall adapter. Ensure the voltage matches the servos.
-
Micro SD card - To install Raspberry Pi OS for programming.
Additionally, you may need:
-
Solderless breadboard jumper wires - If not using a breadboard.
-
Male/female headers - To securely attach the Raspberry Pi to a breadboard.
-
Battery pack - For mobile untethered projects.
-
Additional servos - To expand your builds and add more axes of motion.
That covers the minimum hardware foundation. In subsequent sections we'll go through preparing, connecting and programming this equipment to establish basic servo control with the Raspberry Pi.
Setting up the Hardware: A Step-by-step Guide
Now that we have our components, let's connect everything up step-by-step:
-
Insert the microSD card with Raspberry Pi OS into the Pi and assemble any headers if needed.
-
Using jumper wires, connect the ground (-) pins of the servo and Pi. On the Pi this is any of the GPIO ground pins.
-
Identify the signal or control wire on the servo, typically labeled SIG, S, or yellow. Connect this to a GPIO pin on the Pi that supports PWM like GPIO 18.
-
Connect the power wires - Connect the positive (+) of the servo to the positive terminal of your separate power supply. Ensure the power supply voltage matches the servo's requirements, typically 4.8-6V. Do not connect the servo's power directly to the Pi's VIN or 5V pin, as the servo can draw more current than the Pi can supply, potentially causing damage. Instead, the Pi should be powered separately, either from its own dedicated power supply or from a regulated power supply that can safely provide the necessary current for both the Pi and the servo.
-
Connect the power supply's ground to the Raspberry Pi's ground. This is crucial to ensure that the Pi and the servo share a common ground reference point. This can be done by connecting the negative (-) terminal of your power supply to a ground pin on the Pi and to the ground wire of the servo.
-
Optionally use a breadboard to neatly arrange components and wires. Run GPIO wires from the Pi into the breadboard.
-
Double check all connections for faults before powering on. Corroded/shorted wires can damage circuits.
-
Attach the servo horns if needed for your application. Test full rotation range of the servo shaft.
With this your hardware setup is complete. When we write code, we'll send PWM signals over the connected GPIO pin to control the servo position. Proceed to the next steps only when the hardware configuration is fully understood.
Software Requirements: Preparing the Raspberry Pi
To control our servo motor, we'll need to install some additional software packages on our Raspberry Pi:
-
Raspberry Pi OS (previously Raspbian) - The default operating system image, which we've already installed on the microSD card.
-
Python 3 - A popular programming language well-suited for interfacing with hardware. Comes pre-installed on Raspberry Pi OS.
-
Pigpio library - Enables access to PWM channels and other advanced GPIO functions. Install with
sudo apt-get install pigpio. -
ServoBlaster module - Makes it simple to generate PWM signals for servos. Install with git clone https://github.com/richardghirst/PiBits.git && cd PiBits/ServoBlaster/user && make.
-
A code editor - Nano is pre-installed, but you can also use Mu or Thonny.
Additionally, we need to enable the serial interface for remote access:
-
Enable SSH - Edits the ssh file to auto start on boot.
-
Connect the Pi to WiFi - For easy programming over the network.
-
Update packages - Run
sudo apt-get update && sudo apt-get upgrade
This sets us up with a Python development environment, necessary libraries and a wireless connection. We're now ready to start writing code to test our hardware setup and make the servo move!
Programming the Raspberry Pi: Making the Servo Motor Move
Now it's time to write some Python code to test our servo control!
We'll use the Pigpio and ServoBlaster modules:
import pigpio
import servohat

pi = pigpio.pi()
servo = servohat.Servo(pi, 18)
This initializes communication with the Pi's GPIO and selects our servo on pin 18.
To move the servo we set the pulse width in microseconds:
servo.set_pulsewidth(1500)
1500us is centered, values from 1000-2000us rotate from left to right.
We can sweep back and forth like this:
for i in range(1000, 2000, 5):
  servo.set_pulsewidth(i)
  time.sleep(0.05)

for i in range(2000, 1000, -5):
  servo.set_pulsewidth(i)
  time.sleep(0.05)
Now let's control position with a slider:
import tkinter as tk
...

slider = tk.Scale(...)
slider.pack()

def move(event):
  servo.set_pulsewidth(slider.get()*1000)

slider.bind('<B1-Motion>', move)
Troubleshooting Common Issues: Ensuring Smooth Operation
As with any electronics project, issues can sometimes come up when controlling servos with a Raspberry Pi. Here are some potential problems and solutions:
-
Servo not moving - Check wiring, power supply voltage, enable PWM on GPIO pin.
-
Jerky/ inconsistent motion - Tune PID control parameters or increase refresh rate.
-
Servo vibrates at one position - Tweak PID gains or add damping to code.
-
Limited rotation range - Ensure clear range of movement, check minimum/maximum pulse widths.
-
Delayed response to commands - Optimize code, increase priority of timing thread.
-
Servo very hot after use - Reduce operating voltage slightly or choose higher torque servos.
-
Connections lose power - Secure breadboard wiring, solder jumper cables.
-
Mysterious crashes - Check for resource conflicts or overloading the Pi.
-
Different behavior on second run - Close all terminals and restart everything cleanly.
Proper hardware assembly, quality power sources, and simple test code go far in avoiding problems. Adding print statements for debugging and ensuring modules are up to date also helps track issues down.
Don't hesitate to search online communities as chances are someone else encountered a similar glitch before. With some trial and error, you'll soon resolve any hitches that come up along the way.
Exploring Advanced Applications: Beyond the Basics
Now that you understand the fundamentals of controlling servo motor with a Raspberry Pi, it's time to explore some more sophisticated projects! Here are a few ideas to inspire your own creations:
-
Robot arm - Build a multi-servo robotic arm and program positioning/pick-and-place actions.
-
CNC machine - Use servos to drive a miniature 3D printer or PCB milling machine.
-
RC vehicles - Add servo steering and other functions to aerial, aquatic or terrestrial remote control models.
-
Automated green house - Monitor and adjust angles of plant lighting/watering systems.
-
Animatronic creature - Construct servo-powered animations and character movements.
-
Quadruped robot - Design a walking robot using leg servo mechanisms.
-
Object tracking - Build a pan-tilt surveillance camera that follows detected motion.
-
Tactile display - Create Braille, button or sensory devices for accessibility applications.
-
Muscle simulations - Experiment with fictional artificial muscle simulations over servos.
-
Educational toys - Design educational servos toys, models and hands-on learning aids.
Conclusion: The Power of Raspberry Pi and Servo Motors
In this guide we've covered everything needed to directly control servo motors using a Raspberry Pi - from selecting compatible hardware to connecting it all together, installing necessary software, writing Python code to test basic motion, troubleshooting potential issues, and exploring advanced integrated projects.
The Raspberry Pi provides an affordable single-board computer uniquely designed for physical computing and experimentation. Pairing it with robust yet economical hobby servo motors grants both software and mechanical control through a single device. This empowers endless innovation in robotics, automation, and interactive builds that integrate the digital with real world applications.
The tight integration of microcontroller, sensing and actuation granted by combining a Raspberry Pi minicomputer with servo mechanics opens up a vast realm of possibilities. I hope this guide has inspired you to begin creating your own servo-powered inventions using PID control, sensors and advanced programming techniques.
Explore creative applications whilst gaining skills in electronics, mechanics, and coding. Don't hesitate to modify examples as needed for your particular builds. Most of all, enjoy embracing new technologies to design the automated devices and intelligent machines of the future. With discipline and dedication, there are no limits to what can be achieved at the intersection of Raspberry Pi and servo motor control.
See What Lunyee Can Do For You
Contact Us
- 8619149417743
- +86-0371-5562 0274
- [email protected]
- Zhengzhou, Henan Province, China
- Mon-Fri: 9:00 - 18:00
