BLDC Motor Control with Arduino
2024-06-04 10:26:44
Brushless DC (BLDC) motors are becoming increasingly popular in various applications due to their efficiency, power, and reliability. In this tutorial, we will use an Arduino microcontroller and an Electronic Speed Controller (ESC) to control a BLDC motor. We hope that after reading this article, you will have a clear understanding of the principles behind BLDC motors and how to control them using Arduino.
Overview
BLDC motors, also known as electronically commutated motors, offer significant advantages over traditional brushed motors. They provide higher efficiency, longer lifespan, and smoother operation. BLDC motors require an Electronic Speed Controller (ESC) to regulate the motor's speed and direction. Arduino, a versatile microcontroller platform, can serve as an excellent control interface for BLDC motors.
Components Needed
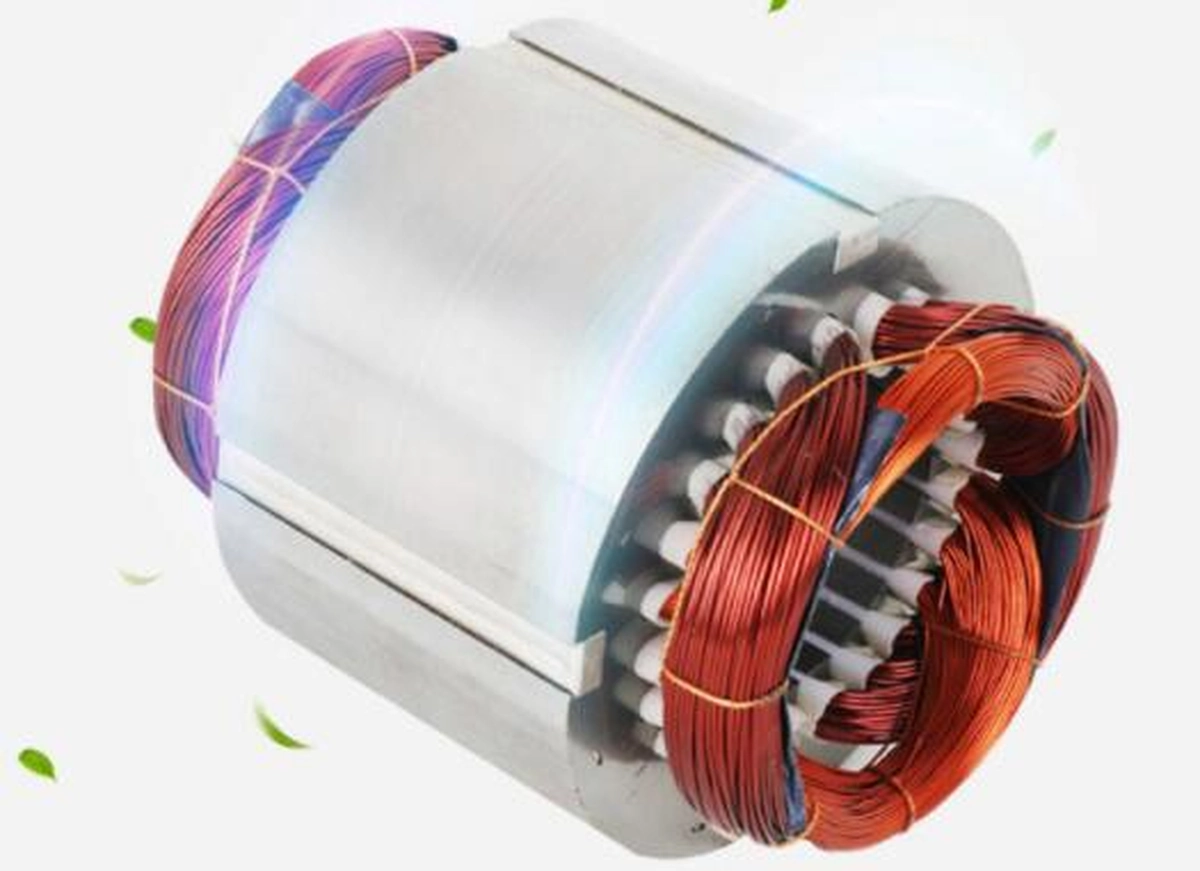
We'll begin with the equipment required for this set-up. Here, we use an outrunner BLDC motor with a KV rating of 1000, suitable for powering with 2S, 3S, or 4S LiPo battery, and requiring a 30A ESC. The KV rating is a measure of the number of rotations per minute (RPM) per volt when unloaded. For instance, a 2S LiPo battery supplying 7.4 volts could help achieve a maximum RPM of 7400 with a 1000KV motor.
The brushless motors demand high power, typically provided by LiPo batteries identified by 'S' number indicating the number of cells. Each cell contributes 3.7V. We use a 3S LiPo battery here, giving three cells, summarizing to 11.1V, thus expectedly delivering amaximum RPM of 11100 to the motor.
The 30A ESC chosen for this article matches these motor requirements. The connection includes three wires managing the motor phases on one side, and power-supply-related VCC and GND wires on the other. Furthermore, the ESC features a signal line, a +5V, and a ground wire which is a part of the Battery Eliminator Circuit (BEC). This provision strategic eliminates the need for a separate battery for the microcontroller by providing a regulated 5V, which can be used to power the Arduino, similar to Servo motor connections.
Controlling the BLDC Motor
Controlling a brushless motor with an ESC and an Arduino is quite straightforward. ESCs use a standard 50Hz Pulse Width Modulation (PWM) signal, similar to the control signal used by servo motors. This is convenient as it allows the use of similar controllers for both servos and brushless motors, which is often the case when creating RC planes and similar projects.
The task we assign to the Arduino is the generation of a 50Hz PWM signal. The pulses' width, or the duration of the high state, should range from 1 millisecond to 2 milliseconds - dictating the ESC to drive the motor from minimum to maximum RPM.
Circuit Diagram
To control the BLDC motor with Arduino and ESC, set up the circuit as depicted in the tutorial's circuit diagram. Ensure accurate connections between the components to ensure proper functionality. The circuit includes the BLDC motor, ESC, Arduino board, potentiometer, and power source. Reference the diagram for a visual representation.
Arduino Code for BLDC Motor Control
The Arduino code for controlling the BLDC motor is straightforward. It involves generating a 50Hz PWM signal using the Servo library. The code snippet below provides an overview of the key sections:
#include <Servo.h> Servo ESC; int potValue; void setup() { ESC.attach(9, 1000, 2000); } void loop() { potValue = analogRead(A0); potValue = map(potValue, 0, 1023, 0, 180); ESC.write(potValue); }ESC Calibration
Calibrating the ESC is crucial for proper motor control. Each ESC may have slight variations in high and low points. Follow these steps to calibrate the ESC:
- Set the potentiometer to its maximum position or a value greater than the current middle point.
- Power up the ESC and wait for confirmation beeps, indicating that the new high point has been established.
- After approximately 2 seconds, move the potentiometer to the desired low point position. Another set of beeps will confirm the completion of the calibration process.
Conclusion
Controlling a brushless DC motor using Arduino opens up a world of possibilities for robotics, automation, and various electronic projects. By understanding the principles of BLDC motor control and utilizing an Electronic Speed Controller, you can achieve precise speed control and unleash the motor's full potential. This article provides some simple methods for controlling BLDC motors with Arduino. If you encounter any issues during the operation or need further assistance, please feel free to contact us, and we will be ready to help you at any time.
Other Products


See What Lunyee Can Do For You
Contact Us
- 8619149417743
- +86-0371-5562 0274
- [email protected]
- Zhengzhou, Henan Province, China
- Mon-Fri: 9:00 - 18:00