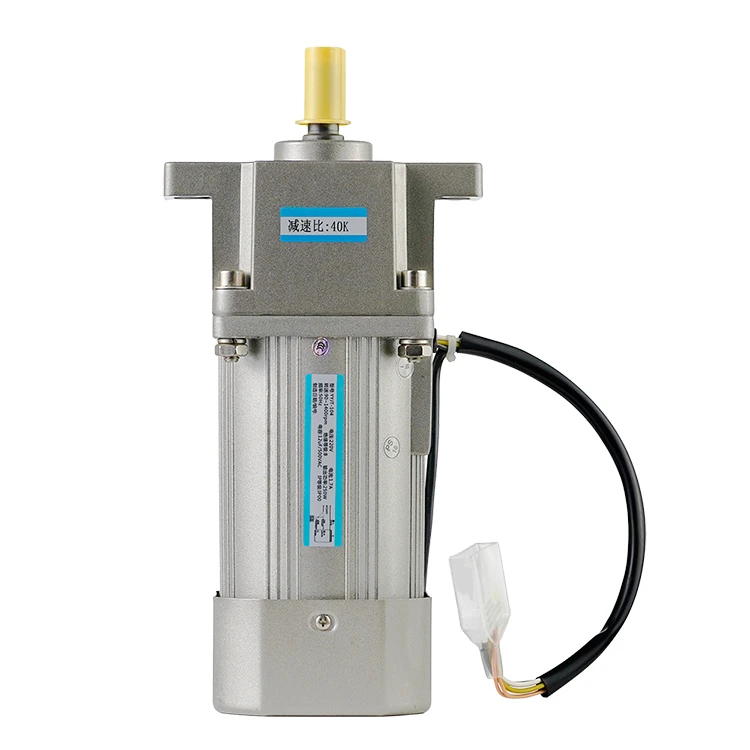
How to wire a stepper motor?
2023-02-03 09:46:02
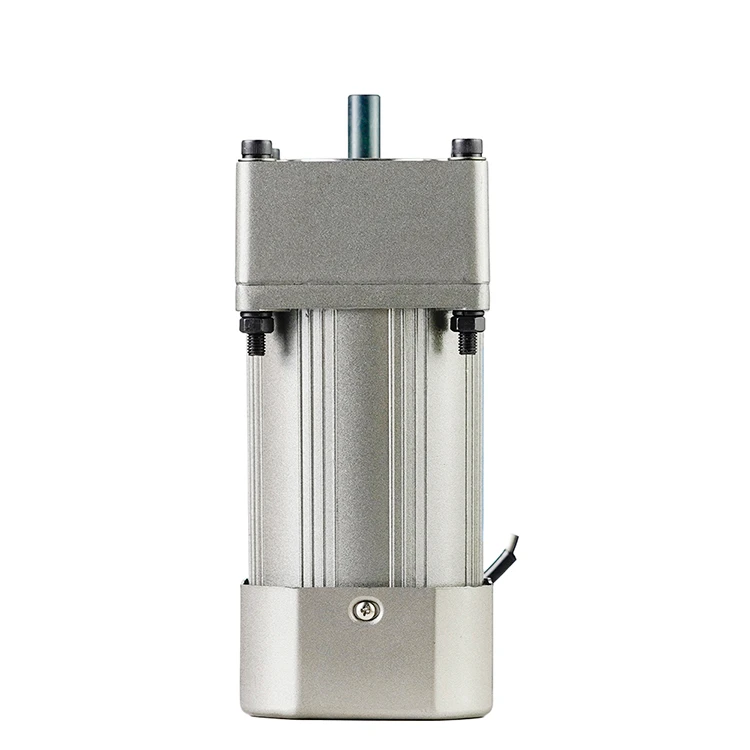
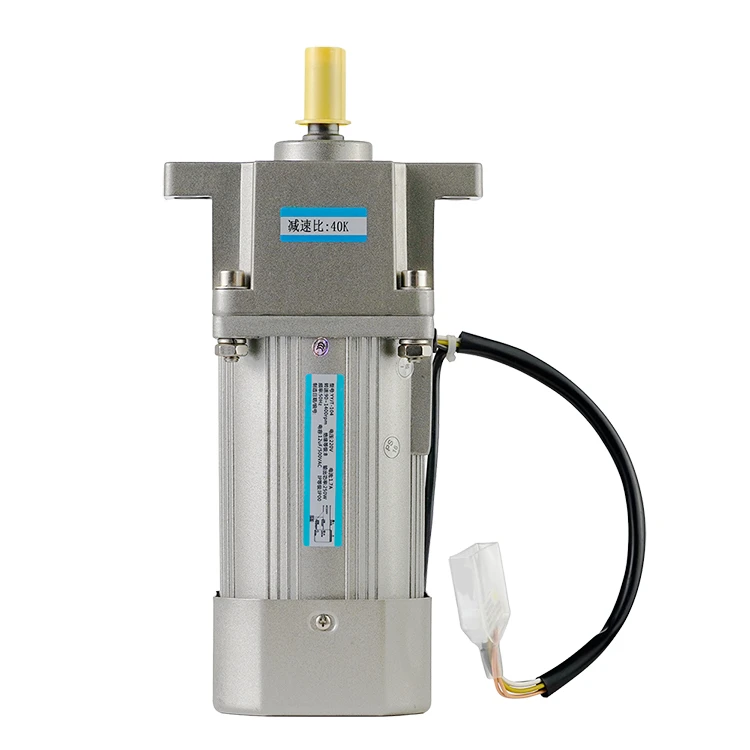
Stepper motors are electric motors that are designed to rotate in precise increments, or steps, rather than continuously. These motors are widely used in a variety of applications, including CNC routers, 3D printers, and other precision machines. If you are working with a stepper motor, it is important to know how to wire it properly to ensure that it functions correctly and safely. In this article, we will provide a step-by-step guide to wiring a stepper motor, including an overview of the tools and materials you will need and the basic steps you will need to follow.
Basic principle of steper motor
Before we get started, let's take a moment to understand the basic principles of how stepper motors work. Stepper motors are driven by an electrical current that is applied to the motor's windings, which creates a magnetic field that drives the rotation of the motor. The current can be applied in a variety of ways, depending on the type of stepper motor and the specific requirements of the application. There are two main types of stepper motors: unipolar and bipolar. Unipolar stepper motors have a single winding per phase, and they are typically easier to drive than bipolar motors. Bipolar stepper motors, on the other hand, have two windings per phase, and they are generally more powerful and precise than unipolar motors.
Tools and materials
Now that we have a basic understanding of how stepper motors work, let's look at the tools and materials you will need to wire one of these motors. Here is a list of the basic items you will need:- Stepper motor: This is the main component you will be working with. Make sure you have a motor that is compatible with your application and the wiring method you will be using.
- Motor driver: This is an electronic device that controls the current applied to the motor's windings, allowing you to control the speed and position of the motor. There are a variety of motor drivers available, and you should choose one that is compatible with your motor and your application.
- Wires: You will need a set of wires to connect the motor to the motor driver and to any other components in your system. Make sure you have enough wire to reach all of your components and allow for some slack.
- Soldering iron and solder: If your motor does not have pre-wired connectors, you will need a soldering iron and some solder to create your own connections. Make sure you have a good-quality soldering iron and some high-quality solder to ensure that your connections are strong and reliable.
- Wire stripper: This is a tool that is used to remove the insulation from the ends of wires, exposing the bare wire underneath. You will need a wire stripper to prepare your wires for soldering or for attaching connectors.
- Heat shrink tubing: This is a flexible tube that is placed over soldered connections to protect them and provide insulation. Heat shrink tubing is available in a variety of sizes, and you should choose a size that is appropriate for your wire size and your application.
Steps you need to follow
Now that you have your tools and materials ready, you can begin the process of wiring your stepper motor. The specific steps you will need to follow will depend on the type of motor you are using and the wiring method you have chosen, but here are the basic steps you will need to follow:
- Prepare your wires: Strip the insulation from the ends of your wires using a wire stripper. Make sure to leave enough wire exposed to create a good connection.
- Connect the motor to the motor driver: Depending on your motor and motor driver, you may need to solder the wires to the motor and driver or use pre-wired connectors. Follow the manufacturer's instructions for your specific components.
- Install the motor and driver: Once your motor and driver are connected, you can install them in your system. Make sure to secure them in place using mounting hardware or other appropriate methods.
- Connect the power supply: Your motor driver will typically need a power supply to operate. Follow the manufacturer's instructions for connecting the power supply to the driver.
- Test the motor: Once you have your motor and driver installed and powered up, you can test the motor to make sure it is functioning properly. You can do this by sending commands to the motor driver to rotate the motor a specific number of steps.
Conclusion
By following these basic steps, you can wire a stepper motor and get it up and running in your system. As with any electrical project, it is important to follow proper safety precautions and to read and understand the manufacturer's instructions for your specific components. With careful planning and attention to detail, you can successfully wire a stepper motor and take full advantage of its precise and accurate control capabilities.
See What Lunyee Can Do For You
Contact Us
- 8619149417743
- +86-0371-5562 0274
- [email protected]
- Zhengzhou, Henan Province, China
- Mon-Fri: 9:00 - 18:00
