How to Connect a Servo Motor?
2023-11-23 11:32:21
Servo motors are widely used in various applications, from robotics to industrial automation. Connecting a servo motor correctly is essential for its proper functioning and control. In this article, we will provide you with a step-by-step guide on how to connect a servo motor. By following these instructions, you can ensure a successful and reliable connection.
Step 1: Gather the Necessary Components
Before you begin connecting the servo motor, gather the following components:
-
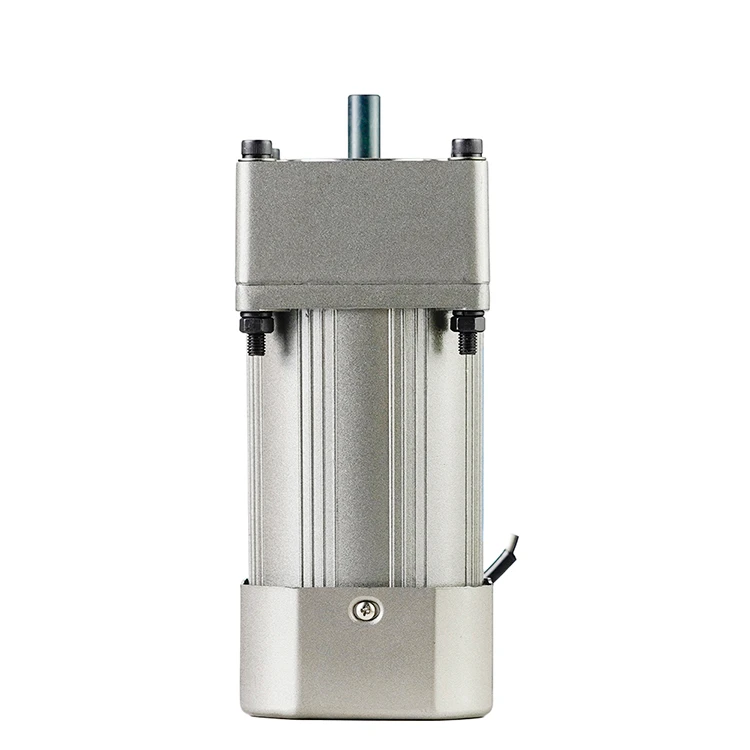
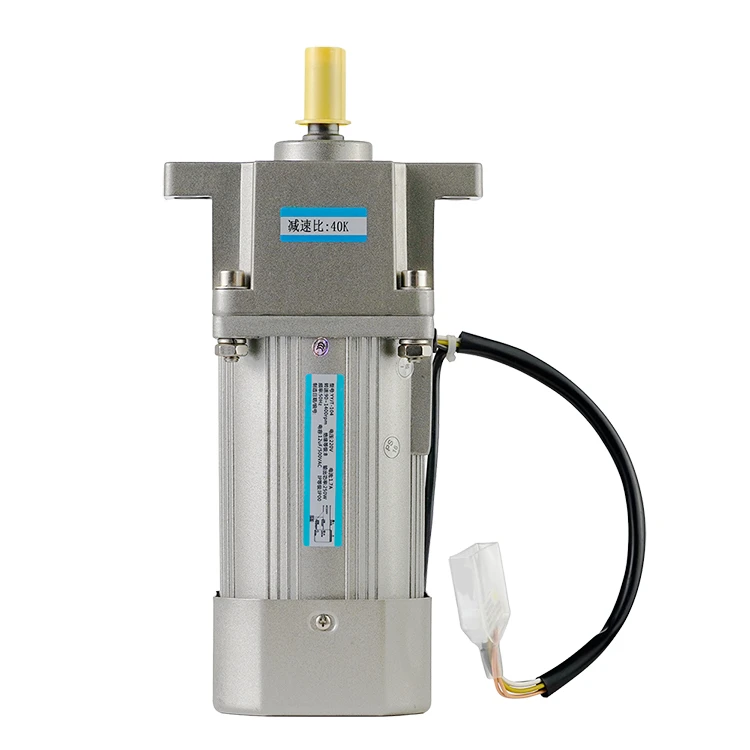
Servo Motor: Choose a servo motor that suits your specific application requirements. Consider factors such as torque, speed, and size.
-
Servo Controller: A servo controller is necessary to send control signals to the servo motor. Make sure you have a compatible servo controller that matches the servo motor's specifications.
-
Power Supply: Servo motors require a stable and appropriate power supply. Select a power supply that meets the voltage and current requirements of your servo motor.
-
Wires and Connectors: Prepare wires and connectors suitable for the servo motor and servo controller connections.
Step 2: Identify the Motor's Pins
A typical servo motor has three pins that serve different purposes. Identify these pins:
-
Signal Pin: The signal pin is used to send control signals from the servo controller to the servo motor. It is generally marked as "S" or "SIGNAL" on the motor.
-
Power Pins: Servo motors have two power pins: positive (+) and ground (-). These pins provide electrical power to the motor. They are usually marked as "+" and "-" on the motor.
Step 3: Connect the Servo Motor
Follow these steps to connect the servo motor properly:
-
Power Connection: Connect the positive (+) power pin of the servo motor to the positive (+) terminal of the power supply. Similarly, connect the ground (-) power pin of the servo motor to the ground (-) terminal of the power supply.
-
Signal Connection: Connect the signal pin of the servo motor to the corresponding signal pin on the servo controller. Ensure a secure and reliable connection.
-
Verify Polarity: Double-check the polarity of the power connections to avoid any potential damage to the servo motor. Reversing the polarity can lead to malfunctioning or even permanent damage.
-
Secure the Connections: Once all the connections are made, ensure that they are securely fastened and free from any loose or exposed wires.
Step 4: Power Up and Test
After connecting the servo motor, follow these final steps:
-
Power On: Turn on the power supply connected to the servo motor. Ensure that the power supply is providing the correct voltage and current as specified by the servo motor.
-
Test Signal Control: Use the servo controller to send control signals to the servo motor. Gradually vary the control signals to observe the motor's response, such as rotation angle or position.
-
Fine-tune: If necessary, fine-tune the control signals and adjust the servo controller settings to achieve the desired motor behavior.
Conclusion
Connecting a servo motor requires careful attention to detail and proper understanding of the motor's pins and specifications. By following the step-by-step guide provided in this article, you can confidently connect your servo motor to a servo controller and power supply. Remember to choose compatible components, secure the connections, and verify the polarity to avoid any potential issues. With a successful connection, your servo motor will be ready to perform precise and controlled movements in your desired application.
See What Lunyee Can Do For You
Contact Us
- 8619149417743
- +86-0371-5562 0274
- [email protected]
- Zhengzhou, Henan Province, China
- Mon-Fri: 9:00 - 18:00
