How to build stepper motor drivers?
2023-10-27 17:26:03
One kind of motor that may be used to precisely regulate a load's movement is a stepper motor. Robotics and other precise control applications frequently employ these motors. A stepper motor driver is required in order to operate a stepper motor. We will go over how to construct a stepper motor driver utilizing easily obtained parts in this post.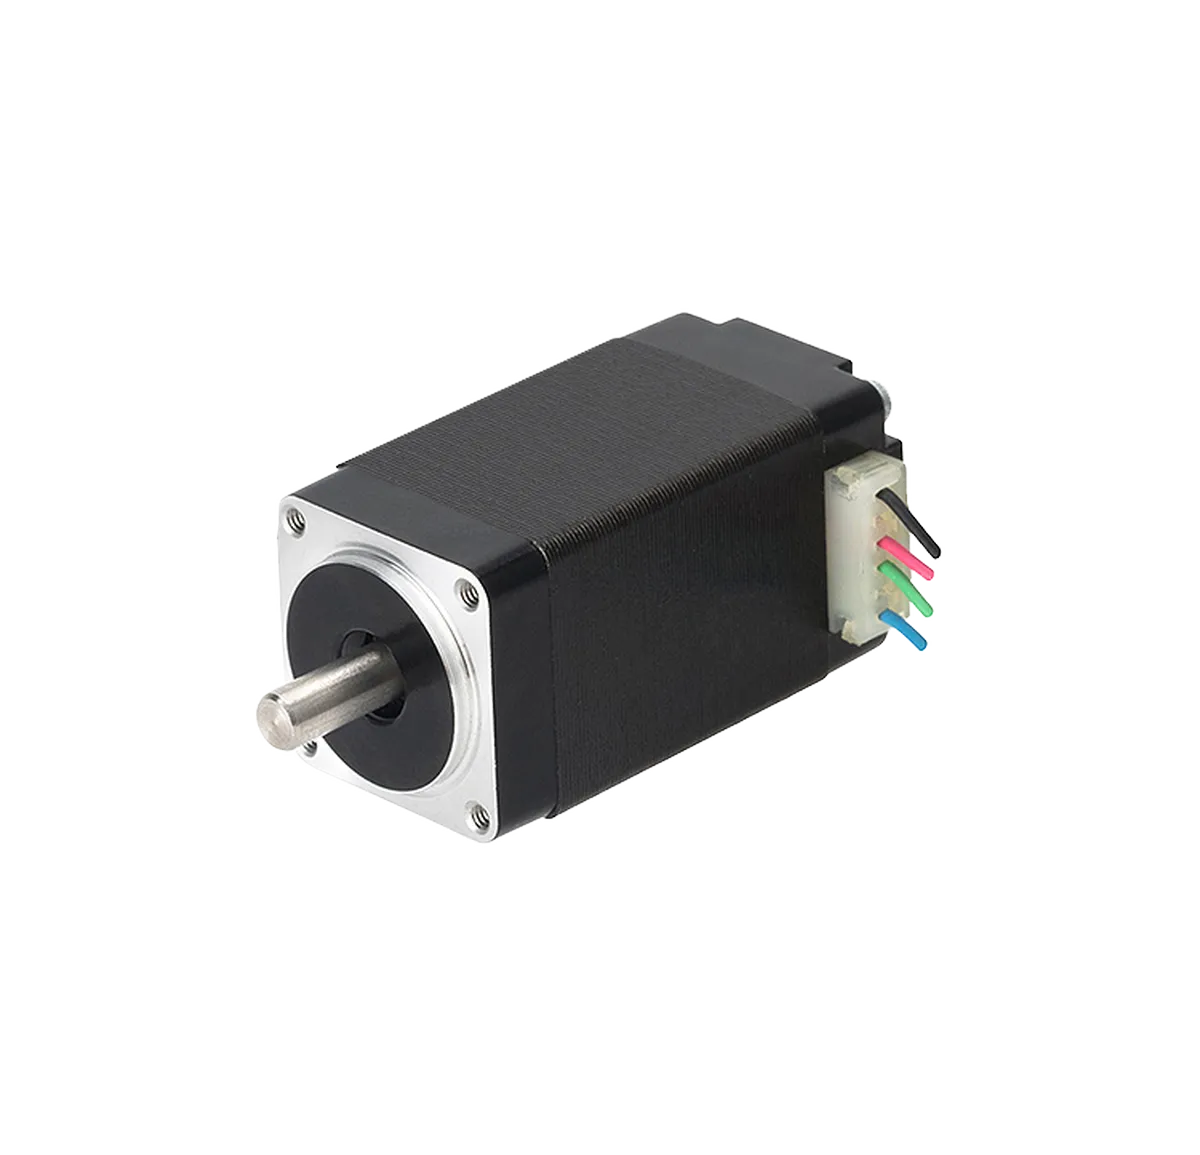
What is a Stepper Motor?
One kind of electric motor that may be used to precisely regulate a load's movement is a stepper motor. A stepper motor allows for precise control over the load's location since it spins in discrete steps, as opposed to a standard electric motor, which rotates continuously when a voltage is provided. Robotics, CNC machines, and other applications requiring precision control frequently employ stepper motors.
Why Do I Need a Stepper Motor Driver?
A stepper motor driver is required in order to operate a stepper motor. The driver, which powers and regulates the stepper motor, is simply an electrical circuit. Accurate control of the stepper motor is impossible without a driver.
How to Build a Stepper Motor Driver
A microcontroller, a stepper motor, an H-bridge motor driver, a breadboard, and a variety of jumper wires are required to create a stepper motor driver. After that, you may begin working in accordance with the procedures below.
- The H-bridge motor driver should first be connected to your breadboard. Four control inputs (designated IN1, IN2, IN3, and IN4) and four power inputs (designated VCC, GND, V1, and V2) will be available to the H-bridge motor driver.
- Attach the stepper motor to the H-bridge motor driver after that. The stepper motor's phases must each be linked to one of the H-bridge's power inputs (V1 and V2). Verify that the wires are connected correctly since the stepper motor and driver may get damaged if the polarity is reversed.
- After the stepper motor is attached, the microcontroller's control inputs for the H-bridge may be connected. The microcontroller's digital output pins must be linked to the H-bridge's control inputs.
- The stepper motor will then need to be controlled by a software that you build for your microcontroller. In order to regulate the motion of the stepper motor, this will entail raising or lowering the relevant pins on the microcontroller. There are a ton of internet resources that can assist you in writing this application.
- Lastly, you may execute your program and see the stepper motor move to test your stepper motor driver. You should be able to precisely regulate the stepper motor's position if everything is operating as it should.
Conclusion
Constructing a stepper motor driver is a rather easy project that can be completed using easily obtained parts. You may construct a driver that will let you precisely control a stepper motor's movement by following the instructions in this article. Possessing this ability might be helpful in robotics and other applications involving precise control.
Other Products


See What Lunyee Can Do For You
Contact Us
- 8619149417743
- +86-0371-5562 0274
- [email protected]
- Zhengzhou, Henan Province, China
- Mon-Fri: 9:00 - 18:00